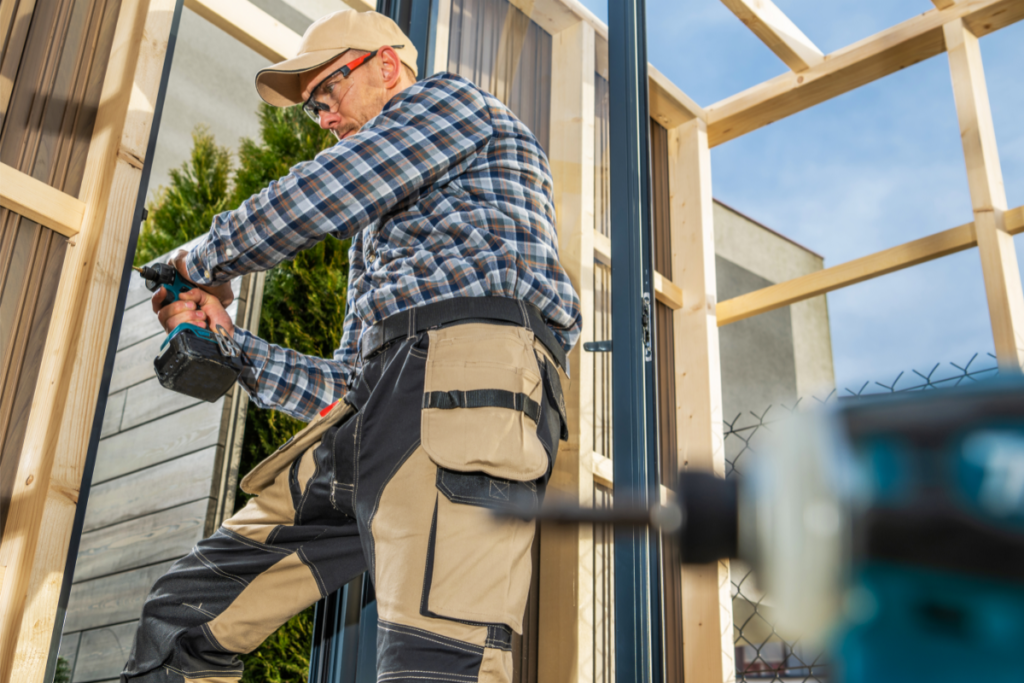
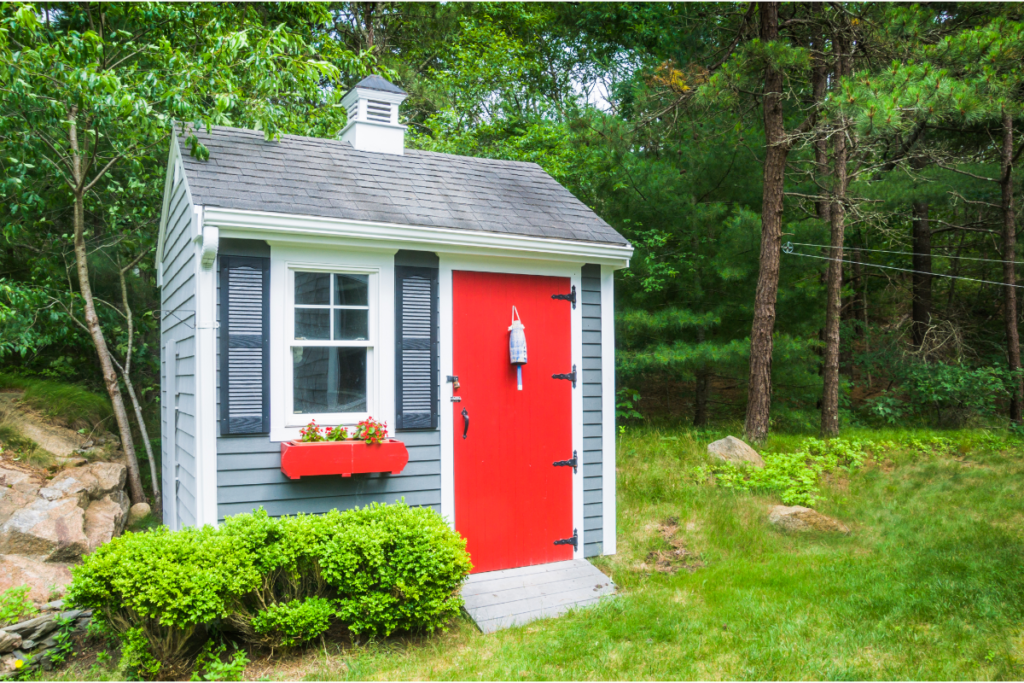
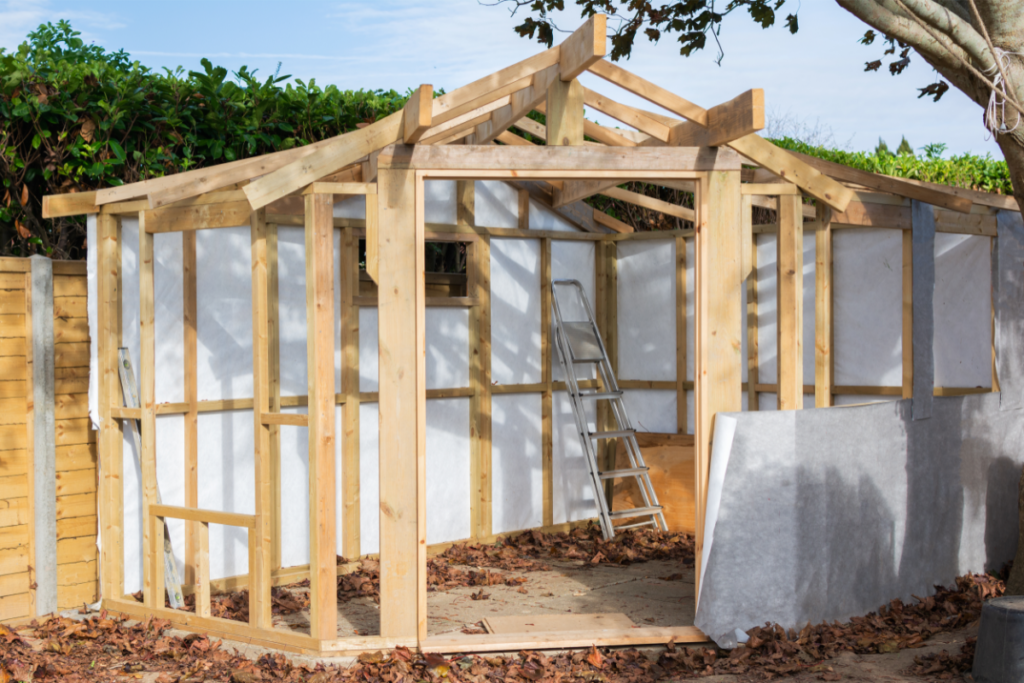
Are you looking for an easy way to add extra storage or a workspace out in your garden? Constructing your own shed has become incredibly hassle-free! Join this tutorial and acquire the necessary instructions for crafting an impeccable shed.
We’ll take you through everything from picking out materials, designing the space, constructing and framing it up, and even getting it waterproofed so that it will last all weather conditions. So whether you plan on adding toolsheds and garden sheds for extra storage or creating a stylish hang-out spot for friends and family. Let’s get started building!
Gather materials needed for shed construction including wood, nails, and other hardware items
Wood is a primary component for building a sturdy and durable shed. Nails are also a key item for fastening the wood together. In addition, there are other hardware items, such as hinges, locks, and screws that are necessary for completing the construction.
To ensure a seamless and uninterrupted process, it is crucial to gather all the required materials prior to commencing the project. By having everything on hand, you can make the building process more efficient and enjoyable.
Create a level base for the shed by digging out and compacting the ground

When it comes to building a shed, having a solid and level base is crucial. One effective method for creating this base is by digging out and compacting the ground. To begin, it is important to clear the designated location for the shed by eliminating any rocks, roots, or other forms of debris.
Then, use a shovel and a level to dig out the soil to your desired depth. Once you’ve achieved the appropriate depth, use a hand tamper or a rented plate compactor to compact the soil. This will ensure that the ground is stable enough to support the weight of your shed.
While it may appear as an additional task, dedicating time to adequately prepare the foundation will minimize potential problems and guarantee the durability of the construction in the long run.
Assemble the walls of the shed and secure them with nails
Now that the foundation is set, it’s time to assemble the walls of your shed. Begin by arranging the wall panels on a level surface and positioning them in the appropriate sequence. It’s important to ensure the panels are aligned and flush with one another before securing them with nails. You can use a framing square to make sure the corners are at right angles.
After the walls have been erected, it is necessary to fasten them securely using nails. Use galvanized nails that are at least 2 inches long to ensure they hold the walls together. As you attach the walls, be sure to check for any gaps or unevenness and adjust as necessary. With the walls securely in place, your shed is taking shape, and you’re one step closer to completing your project.
Build a roof frame and attach it to the walls of the shed

Constructing a roof frame and securing it to the shed’s walls constitutes a pivotal stage in the process of building a shed. To guarantee the structural integrity and durability of your shed, it is crucial to possess the necessary knowledge on constructing and securely fastening the roof frame.
This involves cutting and fitting the rafters and joists, securing them to the walls of the shed, and then adding the sheathing and roofing material. By meticulously carrying out this step with utmost precision and unwavering attention to detail, you will be rewarded with a robust and dependable shed that will cater to your requirements for many years ahead.
Cover the roof frame with plywood sheets and add felt shingles to waterproof it
When it comes to safeguarding a residential or commercial property, giving careful thought to the installation of a robust roof is crucial. One essential part of this procedure involves the application of plywood sheets onto the roof frame, serving as a sturdy foundation for the shingles.
By utilizing plywood, a resilient material, the roof gains stability and strength, ensuring its ability to withstand harsh weather conditions. Once the plywood is securely fastened to the roof frame, felt shingles can be added to provide an efficient waterproofing layer.
Felt shingles are highly effective at preventing water damage and can be customized to fit a variety of aesthetic preferences. Another recommended roofing material is roof felt, a waterproof felt ideal for a shed roof. By following these steps, property owners can enjoy a reliable and well-protected roof for years to come.
Attach doors to your shed, or build your own custom doors

When it comes to sheds, having functioning doors is essential. You have the choice between attaching pre-made doors or constructing your own custom doors. Opting for pre-made doors offers convenience and speed, as they can be easily purchased from hardware stores and quickly installed on your shed using a few straightforward steps. This option is suitable if you prioritize a simple and efficient solution.
However, if you have particular design preferences or require a door that fits a non-standard-sized opening, building your own custom doors may be more suitable. This approach allows you to tailor the doors to your specific requirements and aesthetic preferences. By crafting custom doors, you have greater flexibility in terms of design, size, and materials used.
The doors play a vital role in safeguarding your shed and its contents. Therefore, prioritize durability and security when choosing or constructing your doors, as this will help protect your shed from potential threats and maintain the safety of the items stored inside.

Dear Readers, I’m Salman Khayam, the writer and founder of this blog, dedicated to bringing you valuable insights across a variety of topics. From dental and mental health to personal development, beauty, skincare, hair care, nutrition, fitness, and exercise, my goal is to empower and inspire through well-researched, engaging content.

