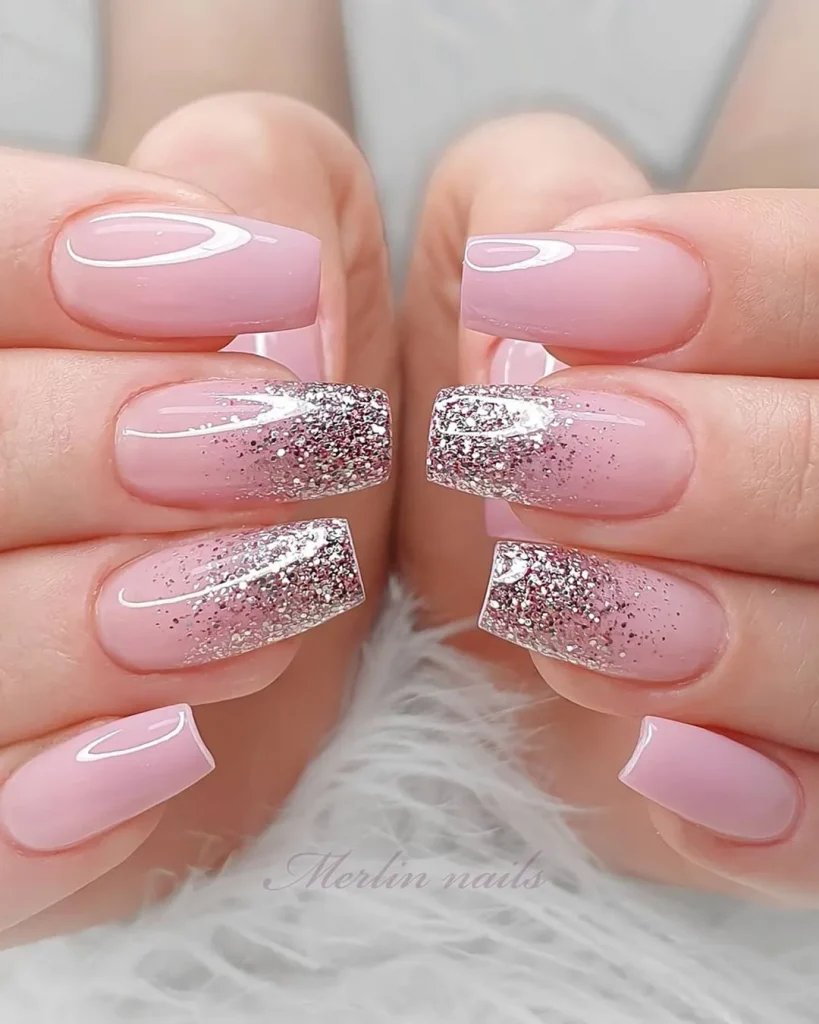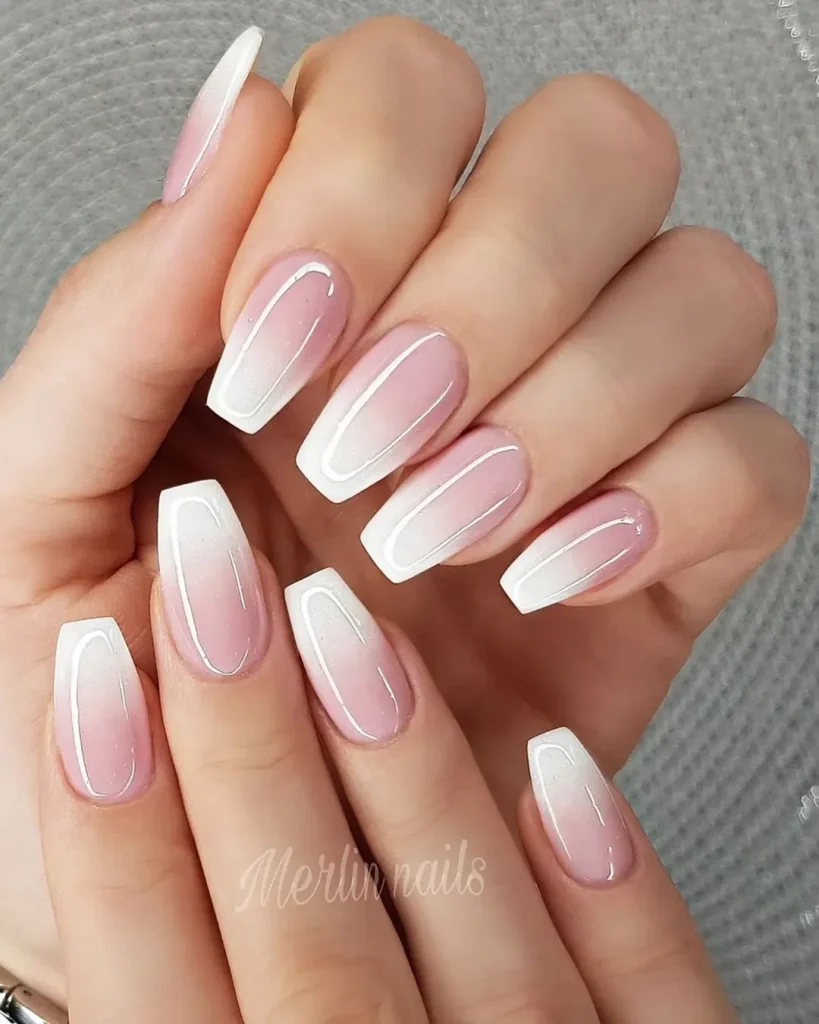
Ombre nails have taken the world of nail art by storm, offering a stunning gradient effect that is both trendy and versatile. Whether you prefer bold, vibrant colors or subtle, elegant shades, ombre nails can be customized to match your style.
What are Ombre Nails?
- Definition of ombre nails
- Popularity and appeal of ombre nail art
Materials Needed: To create stunning ombre nails, you will need the following materials:
- Nail polish in two or more complementary shades
- Makeup sponges
- Nail polish remover
- Cotton pads
- Base coat
- Top coat
- Nail file
- Cuticle pusher
- Nail polish brush
A Comprehensive Step-by-Step Tutorial Ombre Nails:
-
Nail Preparation:
- Remove any existing nail polish using a cotton pad soaked in nail polish remover.
-
Base Coat Application:
Before diving into the mesmerizing world of ombre nails, laying the foundation with a base coat is crucial. This preparatory step serves two essential purposes:
- Protecting your nails and creating a flawless canvas for the stunning ombre effect.
- Allow the base coat ample time to dry completely before moving on to the next stage of your nail art journey.
-
Choose your colors:
- Select two or more complementary nail polish shades that you would like to use for your ombre design.
- Popular choices include shades of the same color family or contrasting colors for a bolder effect.
-
Prepare the sponge:
- Cut a small piece of makeup sponge for each nail.
- Apply a thin layer of the lightest nail polish shade onto the sponge. Ensure that the sponge is evenly coated but not overly saturated.
-
Create the ombre effect:
- Press the sponge onto your nail, beginning at the tip and gliding toward the base.
- Lightly dab the sponge on the nail, blending the colors to create a gradient effect.
- Repeat this process on each nail, reapplying nail polish to the sponge as needed.
-
Clean up excess polish:
- To clean up any excess polish on your skin or cuticles, dip a nail polish brush into nail polish remover.
- This step helps to achieve a neat and professional finish.
-
Apply a top coat:
- Once the ombre effect is dry, apply a layer of clear top coat to seal in the design and add shine.
- Ensuring the top coat is fully dry before touching your nails is important.
Tips and Tricks for Perfect Ombre Nails:

- Experiment with different color combinations to create unique looks.
- Blend the colors gently to achieve a seamless transition between shades.
- Start with lighter shades and gradually build to darker colors for a more defined ombre effect.
- Practice on a nail wheel or a spare piece of paper to perfect your technique before applying it to your nails.
Maintaining Your Ombre Nails:
- Protect your ombre nails by wearing gloves while doing household chores or engaging in activities that may damage them.
- Moisturize your hands and nails regularly to keep them hydrated and prevent chipping.
- Touch any chips or imperfections with additional nail polish and top coat as needed.
Conclusion
Ombre Nails offers an exciting and artistic way to express your style through nail art. By adhering to the detailed instructions in this guide and exploring a wide array of color combinations, you can effortlessly attain breathtaking ombre nails guaranteed to capture attention wherever you venture. Don’t forget to embrace the joy of the process and unleash your artistic flair while delving into the captivating realm of ombre nail art!

Dear Readers, I’m Salman Khayam, the writer and founder of this blog, dedicated to bringing you valuable insights across a variety of topics. From dental and mental health to personal development, beauty, skincare, hair care, nutrition, fitness, and exercise, my goal is to empower and inspire through well-researched, engaging content.
